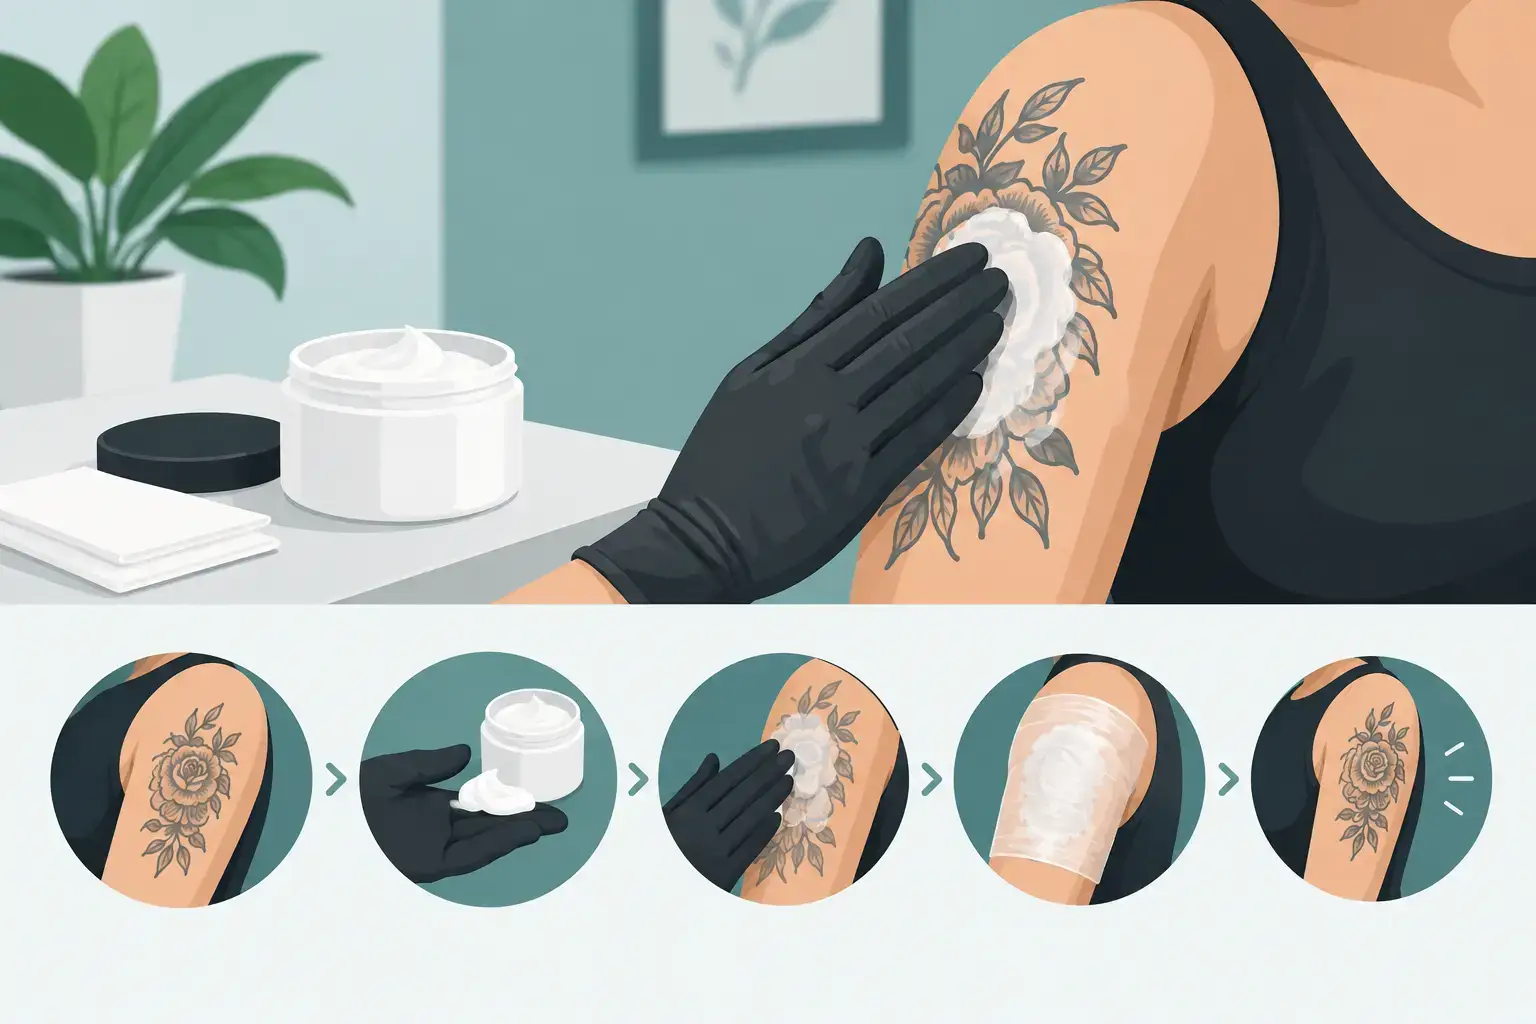
A tattoo appointment is not the moment to guess how much cream to use, whether the skin is clean enough or when to start your prep. The right tattoo numbing cream application steps help the product perform as intended, keep your skin ready for the artist and remove one major source of pre-appointment anxiety.
Good numbing starts before the tube is opened. Choose a genuine, suitable product, follow the instructions supplied with that product and give yourself enough time. Do not rely on marketplace listings, copied directions or packaging that looks almost right. Counterfeit creams can be inconsistent, poorly stored or made with unknown ingredients, and they may affect both your comfort and your skin.
Tattoo numbing cream application steps before your session
1. Choose the right numb for the job
Start with the treatment, the body area and the expected session length. Deep-numbing creams are generally chosen for tattoos and procedures where you want stronger, longer-lasting pre-treatment comfort. Fast-numbing options can suit clients who need quicker preparation. For long tattoo sessions, a mid-procedure numbing gel may be useful once the skin is already open, but it is not a replacement for a pre-numb cream.
At TKTX Tattoo, the colour system is designed to make this simpler: Yellow is the strongest deep numb, while Gold is a fast-numbing choice. The best option still depends on your appointment, your skin and your artist’s advice. If you are unsure, do not just choose the strongest-looking tube. Check the product’s intended use and preparation time first.
2. Patch test before the appointment day
If you have not used that exact cream before, a patch test is sensible. Apply a very small amount to a discreet area of healthy, intact skin according to the product directions, then allow time to check for a reaction. Redness, burning, swelling, itching or a rash are signs to wash the area and stop using it.
A patch test does not guarantee that everyone will tolerate a product perfectly, but it can identify an obvious sensitivity before you are sitting in the studio chair. If you have a skin condition, known allergy, are pregnant or breastfeeding, take medication, or have any medical concern, speak to a qualified healthcare professional before use.
3. Make sure the skin is suitable
Only apply tattoo numbing cream to clean, dry, unbroken skin unless the specific product instructions state otherwise. Do not use pre-numb cream over cuts, grazes, sunburn, active spots, eczema flare-ups, rashes or irritated skin. Shaved skin can be sensitive too, so avoid rushing from a close shave straight into product application if it has caused nicks or razor burn.
Your artist may prefer to shave and prepare the area themselves. Ask before your appointment rather than turning up with an over-shaved, sore patch of skin. A reputable artist’s preparation instructions should always take priority for their studio and your tattoo placement.
4. Clean and dry the tattoo area
Wash the area gently to remove sweat, body lotion, oils, deodorant and everyday dirt. A mild cleanser and water are usually enough. Then dry the skin thoroughly with a clean towel or tissue.
This step matters because cream sitting on top of moisturiser or oil may not contact the skin evenly. Clean, dry skin gives you the best chance of a consistent result. Avoid applying heavy body butter, fragranced lotion or other topical products immediately beforehand unless your tattoo artist has specifically instructed you to do so.
5. Apply a generous, even layer
With clean hands, apply the cream evenly over the entire area to be tattooed, including a small margin around it. Do not leave thin, missed patches. Uneven application can lead to uneven comfort, which is particularly frustrating once a stencil is on and the machine has started.
Use enough product to create a proper layer rather than rubbing a tiny amount until it disappears. The exact amount depends on the size of the area and the directions for your chosen cream. More is not automatically better, however. Do not exceed the stated guidance or apply to a larger area than recommended.
Keep the cream away from eyes, mouth, nostrils and other sensitive areas unless the product is expressly made and approved for that use. Wash your hands after application so you do not accidentally transfer cream elsewhere.
6. Cover it securely if the directions require it
Many pre-numbing creams work best when covered with cling film after application. The covering helps prevent the cream from drying out and can support absorption. Smooth the film over the cream without squeezing it all away, then secure it comfortably. It should stay in place while you travel, but it should not be tight enough to restrict circulation.
Do not treat cling film as an optional extra when your product directions say to use it. Equally, do not wrap skin for longer than instructed just because you want a stronger effect. Following the timing guidance is safer and more predictable than improvising.
Timing matters as much as the cream
Most problems with numbing cream preparation come down to timing. Applying it ten minutes before leaving the house is unlikely to give a deep-numbing formula enough time. Applying it hours too early may mean the effect has begun to fade before your artist starts.
Read the product label in advance and work backwards from your appointment time. Factor in travel delays, parking, studio check-in and the time your artist needs for stencil placement. If your booking is at 2pm, you need a plan that accounts for all of that, not just the needle touching skin at 2pm.
Your artist may ask you to remove the covering shortly before arrival, or they may prefer you to arrive wrapped so they can inspect and clean the area. Ask them when you book. This small detail can make the difference between arriving fully prepared and losing valuable appointment time.
What to do when you arrive at the studio
Tell your artist exactly what you have used, when you applied it and whether you have had any reaction. This is not something to hide or downplay. A professional artist needs to know what is on your skin before they clean, stencil and tattoo.
They will usually remove any covering and clean the area thoroughly before starting. Do not expect the cream to remain on the skin during the tattoo unless your artist says otherwise. Pre-numb creams are part of preparation, not a substitute for proper stencil work, skin cleansing or aftercare.
Numbing can reduce discomfort, but it does not make every sensation disappear. Placement, needlework, individual sensitivity, session duration, sleep, hydration and anxiety all play a part. Go in expecting greater comfort, not a guarantee that you will feel nothing at all.
Common mistakes that reduce results
The most avoidable mistake is buying from an unverified seller because the tube is cheaper or the listing promises impossible results. Packaging can be copied, certificates can be misleading and a product that arrives quickly is not automatically authentic. Buy from a trusted, certified source and inspect the product when it arrives.
Other common errors are applying over dirty or moisturised skin, using too little cream, failing to cover it when instructed, and not allowing enough development time. There is also the opposite problem: using too much, leaving it on too long or applying it to damaged skin. More product and more time do not equal better preparation.
Do not combine multiple numbing products, reapply repeatedly or add other anaesthetic creams in an attempt to intensify the effect. That can increase the risk of irritation and makes it difficult to know what caused a reaction. Use one suitable product as directed.
Aftercare starts with your artist’s instructions
Once the tattoo begins, follow your artist’s guidance. If they use a mid-procedure product, let them decide when and how it is applied. The skin is no longer intact at that stage, so the rules are different from pre-numbing at home.
After the session, focus on the aftercare plan your artist provides. Keep the tattoo clean, avoid picking or over-moisturising, and do not introduce numbing cream to a healing tattoo unless a qualified professional has advised it. Fresh tattooed skin needs careful aftercare, not experimentation.
Preparation should make your appointment feel calmer, not more complicated. Buy genuine product, check your timing, respect the instructions and keep your artist informed. That is the practical route to a more comfortable session. Happy Numbing!